
Panoptikon indexes your local files using state-of-the-art AI and machine learning models, making difficult-to-search media such as images and videos easily findable.
Combining OCR, Whisper Speech-to-Text, CLIP image embeddings, text embeddings, full-text search, automated tagging, and automated image captioning, Panoptikon is the Swiss Army knife of local media indexing.
Panoptikon aims to be the text-generation-webui or stable-diffusion-webui of local search. It is fully customizable, allowing you to easily configure custom models for any of the supported tasks. It comes with a wealth of capable models available out of the box, and adding another one or updating to a newer fine-tune is never more than a few TOML configuration lines away.
As long as a model is supported by any of the built-in implementation classes (supporting, among others, OpenCLIP, Sentence Transformers, Faster Whisper, and Florence 2 via HF Transformers), you can simply add it to the inference server configuration by specifying the Hugging Face repo, and it will immediately be available for use.
Panoptikon is designed to keep index data produced by multiple different models (or different configurations of the same model) side by side, letting you choose which one(s) to use at search time. As such, Panoptikon is an excellent tool for comparing the real-world performance of different methods of data extraction or embedding models, and allows you to leverage their combined power instead of relying on the accuracy of only one.
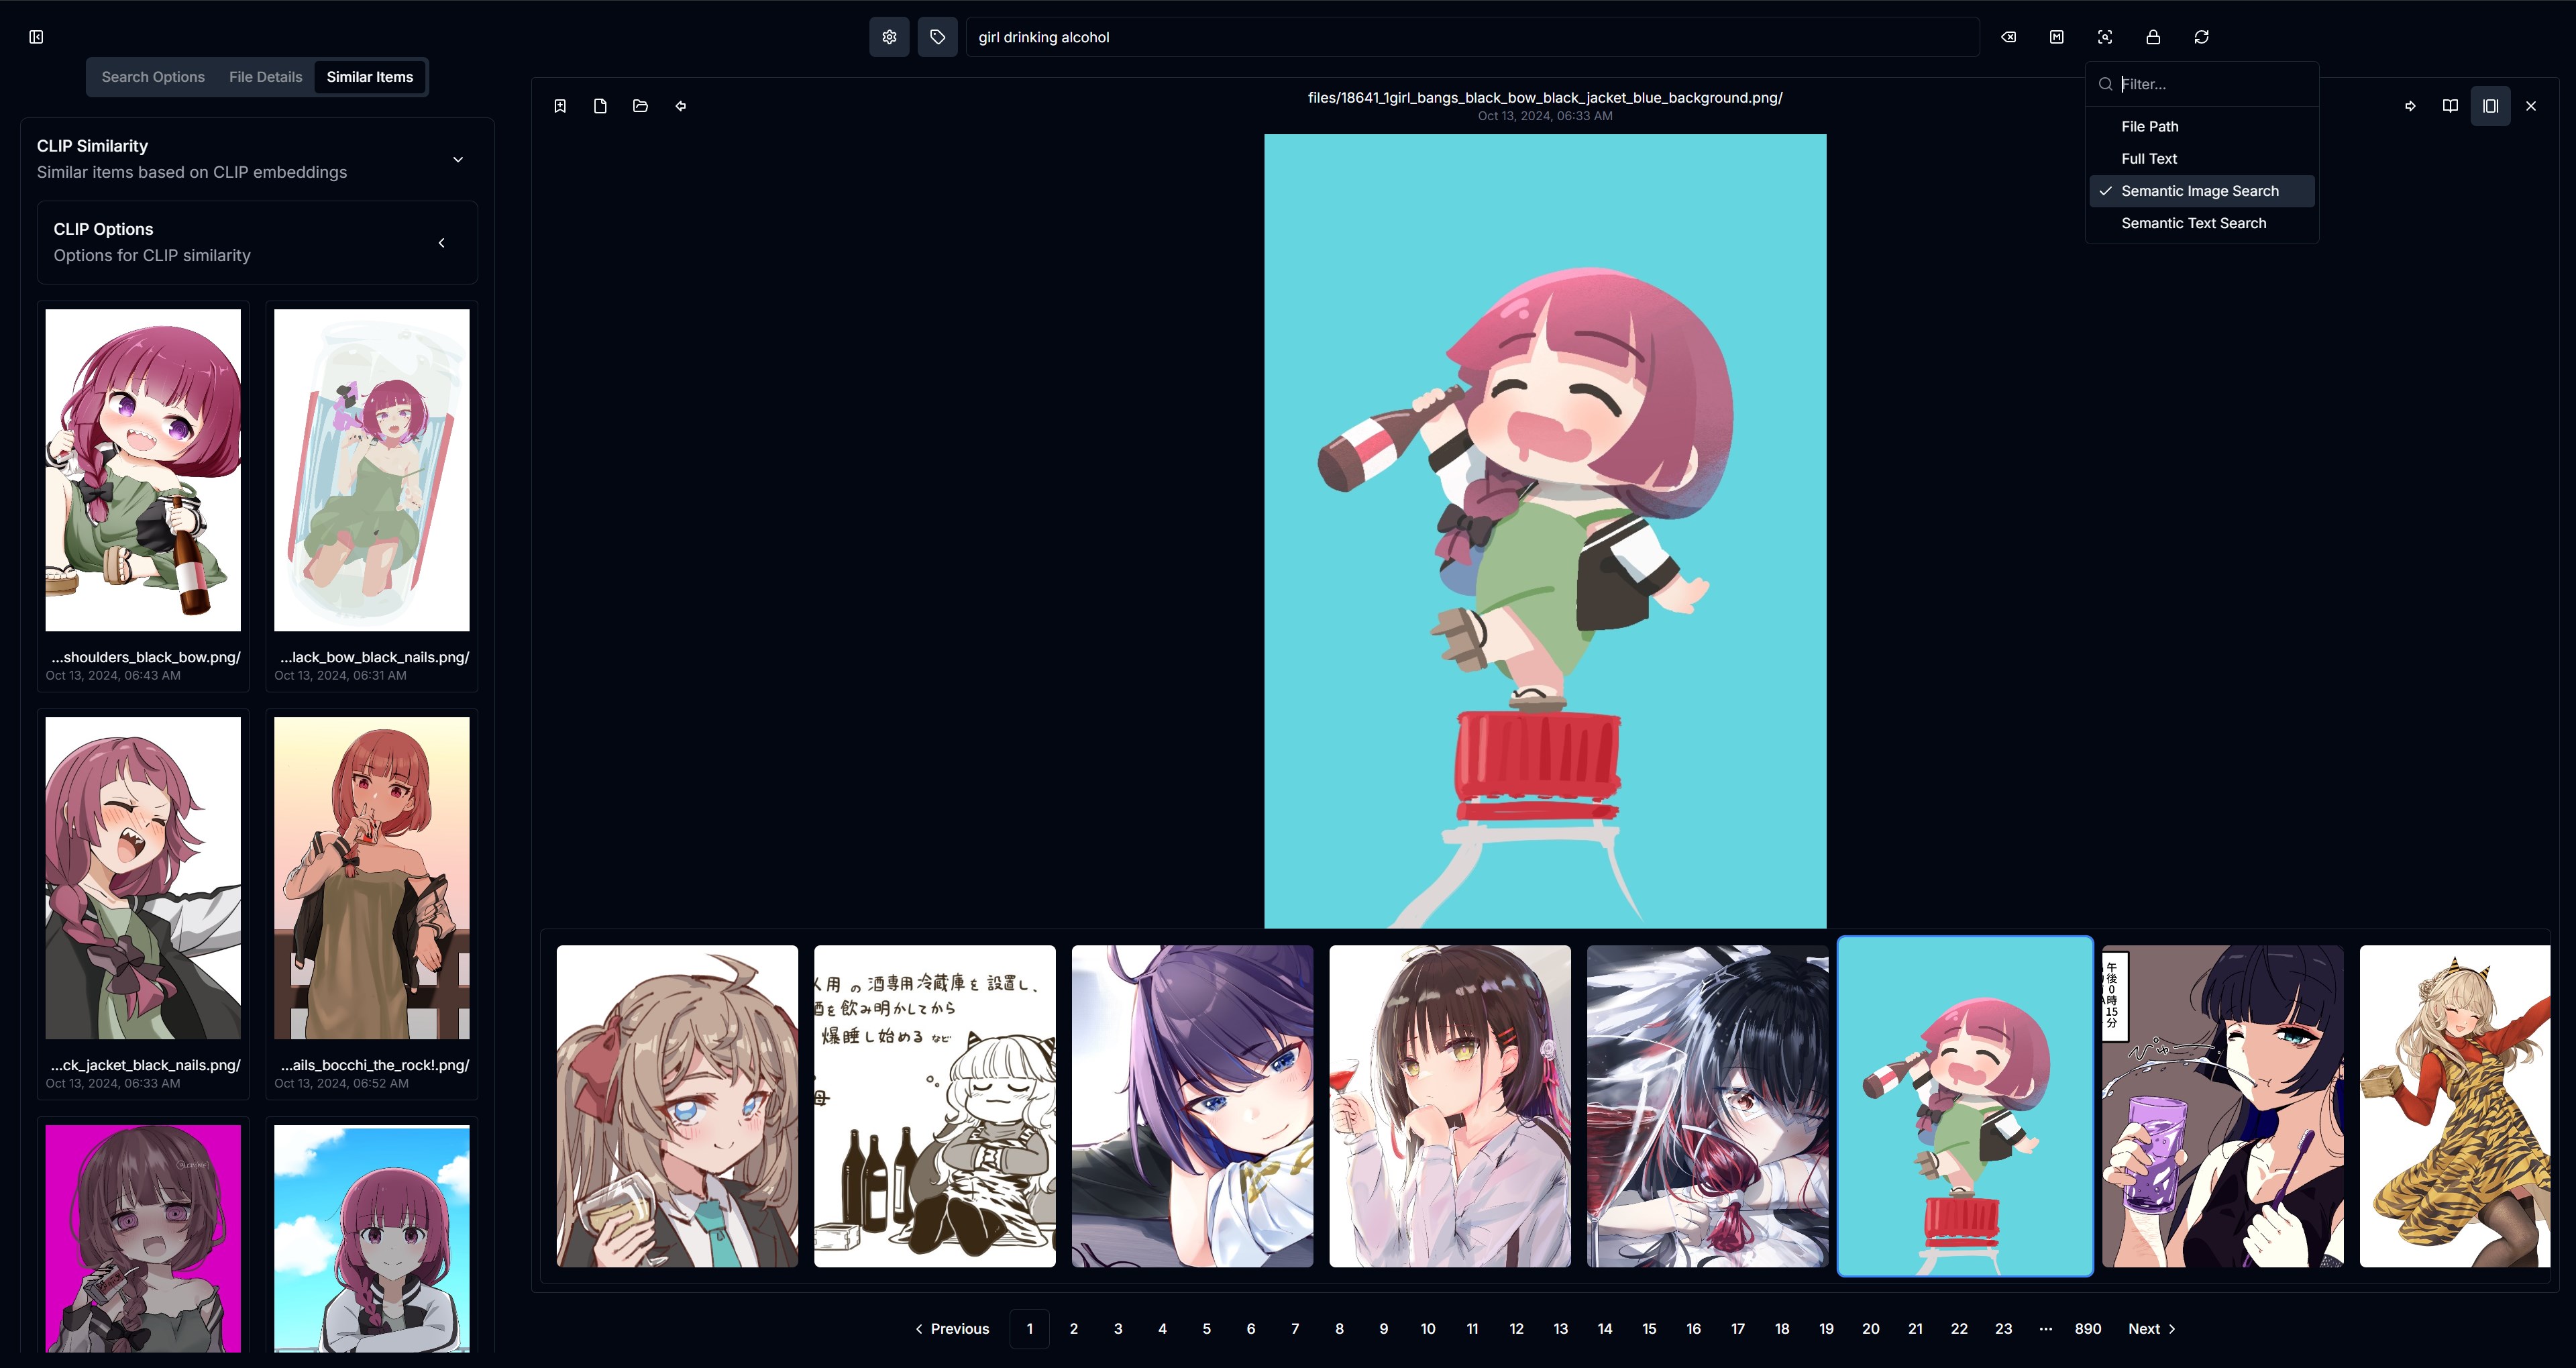
For example, when searching with a given tag, you can pick multiple tagging models from a list and choose whether to match an item if at least one model has set the tag(s) you're searching for, or require that all of them have.
The intended use of Panoptikon is for power users and more technically minded enthusiasts to leverage more capable and/or custom-trained open-source models to index and search their files. Unlike tools such as Hydrus, Panoptikon will never copy, move, or otherwise touch your data. You only need to add your directories to the list of allowed paths and run the indexing jobs.
Panoptikon will build an index inside its own SQLite database, referencing the original source file paths. Files are kept track of by their hash, so there's no issue with renaming or moving them around after they've been indexed. You only need to make sure to re-run the file scan job after moving or renaming files to update the index with the new paths. It's also possible to configure Panoptikon to automatically re-scan directories at regular intervals through the cron job feature.
Panoptikon is designed to be used as a local service and is not intended to be exposed to the internet. It does not currently have any authentication features and exposes, among other things, an API that can be abused for remote code execution on your host machine. Panoptikon binds to localhost by default, and if you intend to expose it, you should add a reverse proxy with authentication such as HTTP Basic Auth or OAuth2 in front of it.
The only configuration that we endorse for a public Panoptikon instance is the provided docker-compose file, which exposes two separate services running on ports 6339 and 6340, respectively. The former is meant to be exposed publicly and blocks access to all dangerous APIs, while the second one is to be used as a private admin panel and has no restrictions on usage or API access. There is no authentication, although HTTP Basic Auth can easily be added to the Nginx configuration file if needed.
This exact docker-compose configuration is currently running at panoptikon.dev as a public demonstration instance for users to try Panoptikon before installing it locally. Certain features, such as the ability to open files and folders in the file manager, have been disabled in the public instance for security reasons.
Panoptikon is also not designed with high concurrency in mind, and the public instance may be slow or unresponsive at times if many users are accessing it simultaneously, especially when it comes to the inference server and related semantic search features. This is because requests to the inference server's prediction endpoint are not debounced, and the instant search box will make a request for every keystroke.
The public instance is meant for demonstration purposes only, to show the capabilities of Panoptikon to interested users. If you wanted to host a public Panoptikon instance for real-world use, it would be necessary to add authentication and rate limiting to the API, optimize the inference server for high concurrency, and possibly add a caching layer.
💡 Panoptikon's search API is not tightly coupled to the inference server. It is possible to implement a caching layer or a distributed queue system to handle inference requests more efficiently. Without modifying Panoptikon's source code, you could use a different inference server implementation that scales better, then simply pass the embeddings it outputs to Panoptikon's search API.
ℹ️ The public instance currently contains a small subset of images from the latentcat/animesfw dataset.
Although large parts of the API are disabled in the public instance, you can still consult the full API documentation at panoptikon.dev/docs.
In scenarios where Panoptikon is running on a remote server, inside a container, or in any environment where it cannot directly access your local file system to open files or reveal them in your file manager, Panoptikon Relay comes to the rescue.
If you can access the files indexed by Panoptikon directly on your client machine (e.g., via network shares like SMB/NFS), Panoptikon Relay bridges this gap. It's a lightweight tray icon application and local HTTP server that runs on your client machine.
How it works with Panoptikon:
- You run Panoptikon Relay on your client machine.
- In Panoptikon's web UI (under "File Details" -> "File Open Relay"), you configure Panoptikon to use the Relay by providing its address (e.g.,
http://127.0.0.1:17600) and an API key. - When you click "Open File" or "Show in Folder" in Panoptikon, the request is sent to Panoptikon Relay.
- The Relay authenticates the request, translates the server-side path (as Panoptikon sees it) to a local client-side path using configurable mappings, and then executes local commands to open the file or show it in your file manager.
Key Features of Panoptikon Relay:
- Tray Icon: For easy access to API key, configuration, and logs.
- Secure API: Uses a Bearer Token (API Key) for authentication.
- Path Mapping: Flexible
config.tomlto map server paths to client paths. - Customizable Commands: Define your own shell commands for opening/showing files.
- Platform-Aware Defaults: Sensible default commands for Windows, macOS, and Linux.
For more details, installation instructions, and configuration options, please visit the Panoptikon Relay GitHub repository.
Panoptikon exposes a REST API that can be used to interact with the search and bookmarking functionality programmatically, as well as to retrieve the indexed data, the actual files, and their associated metadata. Additionally, inferio, the inference server, exposes an API under /api/inference that can be used to run batch inference using the available models.
The API is documented in the OpenAPI format. The interactive documentation generated by FastAPI can be accessed at /docs when running Panoptikon, for example at http://127.0.0.1:6342/docs by default. Alternatively, ReDoc can be accessed at /redoc, for example at http://127.0.0.1:6342/redoc by default.
API endpoints support specifying the name of the index and user_data databases to use, regardless of what databases are specified in environment variables (see below).
This is done through the index_db and user_data_db query parameters. If not specified, the databases specified in environment variables are used by default.
Run the appropriate automated installation script for your platform. If this doesn't work, you can always install manually (see below).
For MacOS / Linux (CPU only or Nvidia GPU):
./install.shFor AMD GPU on Linux (experimental):
./install-amd.shFor Windows (Nvidia GPU):
.\install-nvidia.batFor Windows (CPU only):
.\install-cpu.batAfterwards, run start.sh (linux/macos) or start.bat (windows) to start the server.
❗ You may have to re-run the installation script whenever Panoptikon is updated
This project uses UV for dependency management — a Python package manager that works with pyproject.toml.
Install UV:
curl -LsSf https://astral.sh/uv/install.sh | shpowershell -ExecutionPolicy ByPass -c "irm https://astral.sh/uv/install.ps1 | iex"You must also have Python 3.12 installed. UV can handle that for you:
uv python install 3.12❗ You may have to re-run the
uv pip installcommand(s) any time panoptikon is updated
uv venv -p 3.12
source .venv/bin/activate

uv pip install --group inference
uv pip install -e .
This will create a virtual environment in .venv and install all dependencies, including the inference server.
This will work for CPU and GPU (Nvidia/CUDA) installations. For AMD GPUs on linux (experimental),
run the following command after the previous step:
uv pip install torch torchvision torchaudio --index-url https://download.pytorch.org/whl/rocm6.2.4❗ You will have to re-run this command any time you run
uv pip install --group inferenceagain. Eg., after updating Panoptikon.
If you want to run inference on GPU (CUDA), install PyTorch with the appropriate CUDA wheels:
uv venv -p 3.12
. .venv\Scripts\Activate.ps1

uv pip install --group inference
uv pip install -e .
If you have an Nvidia GPU and want to use it (highly recommended), you MUST install the CUDA wheels for PyTorch with the following command, after completing the previous step:
uv pip install torch torchvision torchaudio --index-url https://download.pytorch.org/whl/cu124❗ You will have to re-run the previous command any time you run
uv pip install --group inferenceagain. Eg., after updating Panoptikon.
This ensures torch, torchvision, and torchaudio are installed with CUDA 12.4 support.
💡 Make sure your system has the matching CUDA runtime installed. See PyTorch's CUDA compatibility table for guidance.
If you're running the inference server on a different machine, you can omit the --group inference flag during installation and set the INFERENCE_API_URL environment variable to point to the server before running Panoptikon:
export INFERENCE_API_URL=http://inference-server:5000On Windows (PowerShell):
$env:INFERENCE_API_URL = "http://inference-server:5000"Every Panoptikon instance exposes the inference server API by default, which means you can point INFERENCE_API_URL to another Panoptikon instance to leverage its inference server.
💡 This is useful if you have a powerful machine with a GPU running the inference server + Panoptikon, and a less powerful machine without a GPU running only Panoptikon's core, for example, a desktop and a laptop.
When running the Whisper implementation, which is based on CTranslate2, you may see errors related to cuDNN libraries. Download a version 8.x cuDNN package appropriate for your system from Nvidia, unpack the archive, and save its contents inside the cudnn directory at the root of this repo.
Make sure the cudnn folder contains bin, lib, include, etc., as direct subfolders.
If you still encounter issues with cuDNN, you may need to set the LD_LIBRARY_PATH environment variable to point to the cuDNN library bin folder.
In order to do this, edit or create a file called just .env in the root of this repository and add the following line:
LD_LIBRARY_PATH=cudnn/bin:$LD_LIBRARY_PATHSee issue: #5
This is only relevant if you intend to use Panoptikon with HTML files. Panoptikon uses WeasyPrint to handle HTML files. You have to follow their Installation Guide to ensure all the external dependencies are present on your system. If they are present but not found, it's recommended to set the WEASYPRINT_DLL_DIRECTORIES environment variable to point to the correct folder.
AttributeError: 'sqlite3.Connection' object has no attribute 'enable_load_extension'
The SQLite version bundled with your python install doesn't support extensions. You need to install a version of SQLite that supports them.
On Linux and macOS, run:
./start.shFor Windows, run:
.\start.batThis will start Panoptikon along with its inference server, listening by default at http://127.0.0.1:6342/ (API).
Everything except for adding new AI models and customizing existing ones can be done through the Next.js UI available at http://127.0.0.1:6339 by default.
Open the home page of the web UI and follow the instructions to get started. You'll have to add directories to the list of allowed paths and then run the file scan job to index the files in those directories. Before being able to search, you'll also have to run data extraction jobs to extract text, tags, and other metadata from the files.
You can bookmark any search result by clicking on the bookmark button on each thumbnail. Bookmarks are stored in a separate database and can be accessed through the API, as well as through search.
To search in your bookmarks, open Advanced Search and enable the bookmarks filter, which will show you only the items you've bookmarked.
Bookmarks can belong to one or more groups, which are essentially tags that you can use to organize your bookmarks. You can create new groups by typing an arbitrary name in the Group field in Advanced Search and selecting it as the current group, then bookmarking an item.
See config/inference/example.toml for examples on how to add custom models from Hugging Face to Panoptikon.
Panoptikon accepts environment variables as config options. It uses dotenv, so you can create a file called .env in this folder with all the environment variables and their values, and it will be automatically applied at runtime.
Some of these environment variables are explained here, for a more complete guide, read the .env.example file in this repository.
Default:
HOST=127.0.0.1
PORT=6342
These determine where to bind the Panoptikon server, which delivers both the inference API and the search and configuration UI.
Warning: Do not expose Panoptikon to the internet without a reverse proxy and authentication. It is designed as a local service and does not have any security features.
Default:
INFERIO_HOST=127.0.0.1
INFERIO_PORT=7777
These only apply when the inference server (inferio) is run separately as a standalone application without Panoptikon. They determine where to bind the inference server, which runs the models.
To run the inference server separately, you can run inferio-start.sh on Linux/MacOS or inferio-start.bat on Windows from the root of this repository.
Default: Not set.
If you're running the inference server separately, you can point this to the URL of the inference server to allow Panoptikon to use it.
By default, a Panoptikon instance will run its own inference server, which also means that you can point INFERENCE_API_URL to another Panoptikon instance to leverage its inference server.
For example, you might have a full Panoptikon instance running on your desktop or workstation, and another instance running on your laptop without a GPU. You can point the laptop instance to the desktop instance's inference server to leverage the GPU.
Simply configure the desktop instance to run the inference server on an IP reachable from the laptop, and set INFERENCE_API_URL to the URL of the desktop instance's inference server, for example http://192.168.1.16:6342. Don't add a trailing slash.
Default:
DATA_FOLDER=dataWhere to store the databases and logs. Defaults to "data" inside the current directory.
Default:
LOGLEVEL=INFOThe log level for the logger. You can find the log file under [DATA_FOLDER]/panoptikon.log.
Default:
INDEX_DB=default
USER_DATA_DB=default
The names of the default databases to use for indexing (files and extracted data) and user data (bookmarks). These are the databases that are used by default when no database is specified in the API request. Regardless of what databases are specified in the environment variables, the API endpoints support specifying the database to use through the index_db and user_data_db query parameters, and the UI allows the creation of new index databases and the selection of which index database to use for search and other operations.
Default:
TEMP_DIR=./data/tmpWhere to store temporary files. Defaults to ./data/tmp. These files are generally short-lived and are cleaned up automatically, but if you're running out of space on ./data/tmp you can set this to a different location.
Default: Not set.
Panoptikon includes APIs to open files in the file manager or in the default application for the file type. These are used in the UI to allow you to open the file in your file manager or in the default application for the file type.
Panoptikon has sane defaults for each platform (Windows, Linux, macOS), but you can override these by setting the SHOW_IN_FM_COMMAND and OPEN_FILE_COMMAND environment variables to your custom commands.
The strings {path}, {folder}, {filename} within your command will be replaced with the full path to the file, the folder containing the file, and the filename with extension, respectively.
You can also set these commands to no-ops by setting them to something like echo {path} or echo {filename} in order to disable the functionality. This is absolutely necessary if you intend to expose Panoptikon to the internet, as the default commands are shell commands that can be used to execute arbitrary code on your machine. By default, this effectively allows remote code execution as a service.
Default:
ENABLE_CLIENT=trueWhether to run the Next.js UI. If you're running Panoptikon in a headless environment, you can set this to false to disable the UI and only run the API server, then host the UI separately.
You can still access the API documentation at /docs and /redoc even if the UI is disabled.
Default:
CLIENT_HOST=HOST
CLIENT_PORT=6339
Where to bind the Next.js UI. Defaults to the same host as the API server and port 6339.
Default:
DISABLE_CLIENT_UPDATE=falseWhether to disable the automatic update of the Next.js UI.
You can set this to true to disable the automatic update of the UI when the server is restarted. If this is set to the default false, Panoptikon will git pull the latest version of the UI on startup from the repository's "master" branch.
This might break Panoptikon if the UI is not compatible with the current version of the server. If you're not planning on constantly keeping Panoptikon up to date, you should set this to true after the first run to prevent the UI from being updated to a version that is incompatible with the server.
After every update, you can set it to false again once to allow the UI to be updated on the next restart.
This project includes a docker-compose.yml file and a Dockerfile that can be used to run Panoptikon in a Docker container. This is useful for running Panoptikon in a headless environment or on a server without having to install all the dependencies manually.
Note that while there is a docker image provided for the frontend which is built from the latest commit, the backend must be built locally on your machine using docker compose build.