This tutorial is an alternative to Option 1: Using uv in the README.md document for those who prefer uv's native commands over the uv pip interface. While uv pip is faster than pure pip, uv's native interface is even faster than uv pip as it has less overhead and doesn't have to handle legacy support for PyPy package dependency management.
The table below provides a comparison of the speeds of different dependency and package management approaches. The speed comparison specifically refers to package dependency resolution during installation, not the runtime performance of the installed packages. Note that package installation is a one-time process for this project, so it is reasonable to choose the preferred approach by overall convenience, not just installation speed.
| Command | Speed Comparison |
|---|---|
conda install <pkg> |
Slowest (Baseline) |
pip install <pkg> |
2-10× faster than above |
uv pip install <pkg> |
5-10× faster than above |
uv add <pkg> |
2-5× faster than above |
This tutorial focuses on uv add.
Otherwise, similar to Option 1: Using uv in the README.md , this tutorial guides you through the Python setup and package installation procedure using uv.
In this tutorial, I am using a computer running macOS, but this workflow is similar for Linux machines and may work for other operating systems as well.
Uv can be installed as follows, depending on your operating system.
macOS and Linux
curl -LsSf https://astral.sh/uv/install.sh | shor
wget -qO- https://astral.sh/uv/install.sh | shWindows
powershell -c "irm https://astral.sh/uv/install.ps1 | more"
Note: For more installation options, please refer to the official uv documentation.
To install all required packages from a pyproject.toml file (such as the one located at the top level of this GitHub repository), run the following command, assuming the file is in the same directory as your terminal session:
uv sync --dev --python 3.11Note: If you do not have Python 3.11 available on your system, uv will download and install it for you. I recommend using a Python version that is at least 1-3 versions older than the most recent release to ensure PyTorch compatibility. For example, if the most recent version is Python 3.13, I recommend using version 3.10, 3.11, 3.12. You can find out the most recent Python version by visiting python.org.
Note: If you have problems with the following commands above due to certain dependencies (for example, if you are using Windows), you can always fall back to regular pip:
uv add pipuv run python -m pip install -U -r requirements.txtSince the TensorFo
Note that the uv sync command above will create a separate virtual environment via the .venv subfolder. (In case you want to delete your virtual environment to start from scratch, you can simply delete the .venv folder.)
You can install new packages, that are not specified in the pyproject.toml via uv add, for example:
uv add packagingAnd you can remove packages via uv remove, for example,
uv remove packaging
Your environment should now be ready to run the code in the repository.
Optionally, you can run an environment check by executing the python_environment_check.py script in this repository:
uv run python setup/02_installing-python-libraries/python_environment_check.py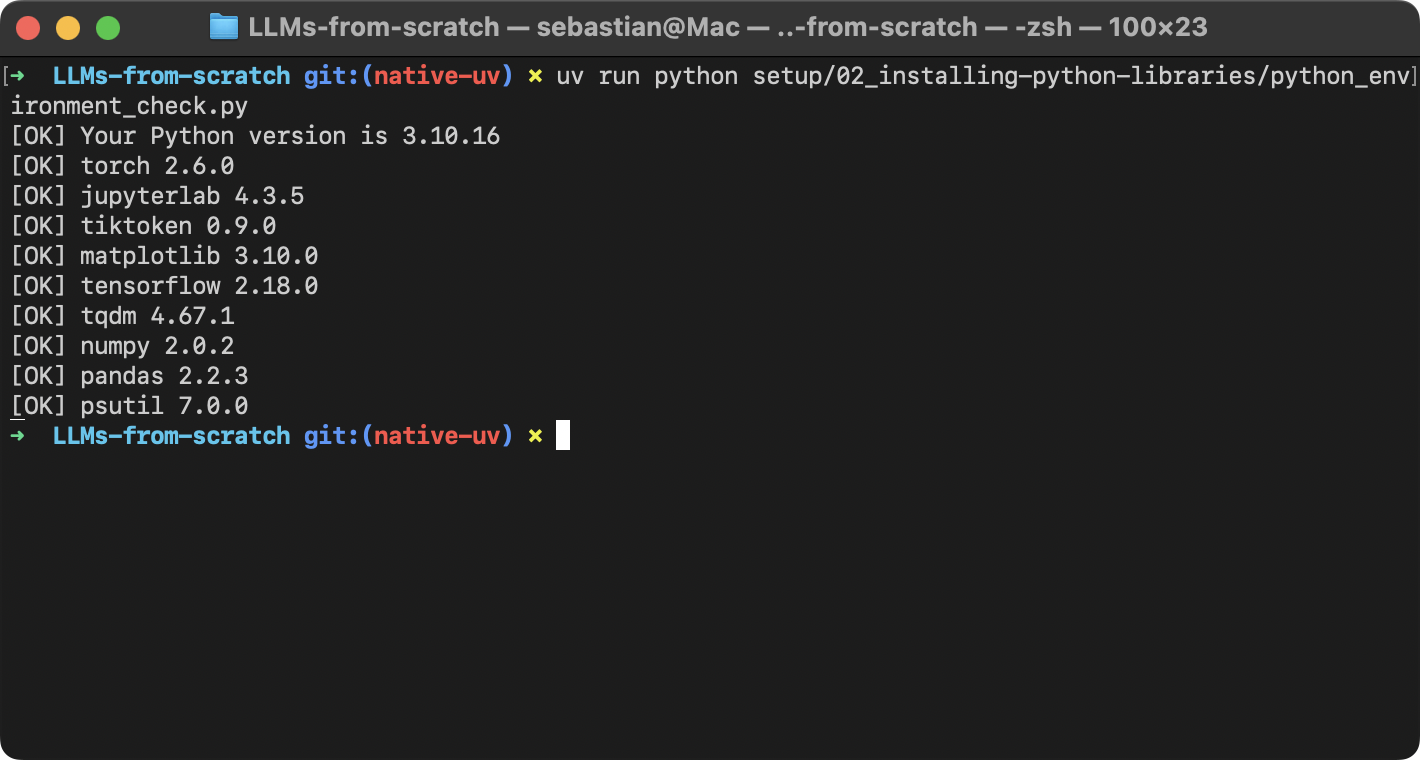
Launching JupyterLab
You can launch a JupyterLab instance via:
uv run jupyter labSkipping the uv run command
If you find typing uv run cumbersome, you can manually activate the virtual environment as described below.
On macOS/Linux:
source .venv/bin/activateOn Windows (PowerShell):
.venv\Scripts\activateThen, you can run scripts via
python script.pyand launch JupyterLab via
jupyter lab
Note: If you encounter problems with the jupyter lab command, you can also start it using the full path inside your virtual environment. For example, use
.venv/bin/jupyter labon Linux/macOS or.venv\Scripts\jupyter-labon Windows.
Alternatively, you can still install the dependencies directly from the repository using uv pip install. But note that this doesn't record dependencies in a uv.lock file as uv add does. Also, it requires creating and activating the virtual environment manually:
1. Create a new virtual environment
Run the following command to manually create a new virtual environment, which will be saved via a new .venv subfolder:
uv venv --python=python3.102. Activate virtual environment
Next, we need to activate this new virtual environment.
On macOS/Linux:
source .venv/bin/activateOn Windows (PowerShell):
.venv\Scripts\activate3. Install dependencies
Finally, we can install dependencies from a remote location using the uv pip interface:
uv pip install -U -r https://raw.githubusercontent.com/rasbt/LLMs-from-scratch/refs/heads/main/requirements.txtAny questions? Please feel free to reach out in the Discussion Forum.