| title | metaTitle | metaDescription |
|---|---|---|
Add a data source |
Add a data source | Hasura v3 Tutorial |
Let's add a data source to our project. |
Hasura can connect to a variety of data sources. We understand that your data is likely spread across multiple sources with various owners and in a number of different formats. We want to make it easy for you to access all of your data from a single GraphQL API. We call this concept the data supergraph.
To connect to data sources, Hasura utilizes data connectors. A data connector is an HTTP service that exposes a set of APIs which Hasura uses to communicate with the data source. The data connector is responsible for interpreting work to be done on behalf of the Hasura Engine, using the native query language of the data source.
Data connectors are available for a number of data sources, including PostgreSQL, ClickHouse, Qdrant, and more. You can learn more about them on the Connector Hub.
In this guide, we'll be using the hasura/postgres data connector to connect to a PostgreSQL database.
The Hasura CLI makes it easy to connect to your data source. You can use the metadata add-hub-connector command to
connect to a data source from the connector hub.
When you run the command below, the CLI will generate a .env file in your project's root directory with the connection
string for your data source. It will then create a new subdirectory in the default subgraph's dataconnectors
directory with the connection information in a file named after the value you pass immediately after the
add-hub-connector command (pg_db in the example below):
hasura3 metadata add-hub-connector pg_db --dir . --subgraph default --id hasura/postgres --url <DATABASE_URL>We're passing a few flags to this command:
--dir .tells the CLI to use the current directory as the project directory.--subgraph defaulttells the CLI to add the data source to the default subgraph.--id hasura/postgrestells the CLI to use thehasura/postgresconnector from the connector hub.
If your database is hosted on a cloud provider, you can connect to it by copying your connection string which should look like this:
postgresql://<USERNAME>:<PASSWORD>@<HOST>:<PORT>/<DATABASE_NAME>
If you want to connect a local database for development, you can use the new Hasura CLI to create a local daemon and securely connect to your database. We call this a Secure Connect tunnel. Tunnels are beneficial because they allow you to connect your local database to your Hasura project on Hasura DDN without exposing it to the internet.
Start your local database. For example, if you are using Docker, you can run the following command:
docker run -d --name <DATABASE_NAME> -e POSTGRES_PASSWORD=<YOUR_PASSWORD> -p 5432:5432 <DATABASE_IMAGE>Start the Hasura daemon with the daemon start command:
hasura3 daemon startThe daemon will block this window while it runs.
Open a new tab or window for your terminal and run the create command:
hasura3 tunnel create <SOCKET>The <SOCKET> argument is the address of your local database. For example, if you are running a local PostgreSQL
database on the default port, you would use localhost:5432.
The CLI will return a URL that you can use to connect to your database. You should use this URL to form a connection string for your database, like this:
postgresql://<USERNAME>:<PASSWORD>@<URL_RETURNED_BY_THE_CLI>/<DATABASE_NAME>
Optionally, you can utilize secrets to store your connection strings. Secrets are a new concept in Hasura that allow you to store sensitive information securely. You can quickly create them using the CLI as key-value pairs:
hasura3 secret set --project <PROJECT_ID_FROM_PREVIOUS_STEP> --environment default --subgraph default --key <KEY> --value <VALUE>And then reference the key in your connection_uris array:
connectionUri:
  uri:
stringValueFromSecret: <KEY>With our data source connected, the CLI can easily introspect it and generate metadata for us. This takes the boilerplate tasks of creating types and relationships off your hands and lets you focus on the work that matters. With just a couple of commands, we'll have our entire data layer defined and an API ready to go 🚀
The hasura3 watch command will watch your project directory for changes and automatically apply them to your Hasura
project. This is useful for development because it allows you to make changes to your project and see them reflected in
your Hasura project without having to manually apply them.
hasura3 watch --dir .A daemon will start that will watch your project directory for changes. You can stop the daemon by pressing Ctrl + C.
It's important to note: if you're using a tunnel, you'll need to kill that process before starting hasura3 watch, as
watch will take care of creating a tunnel for you.
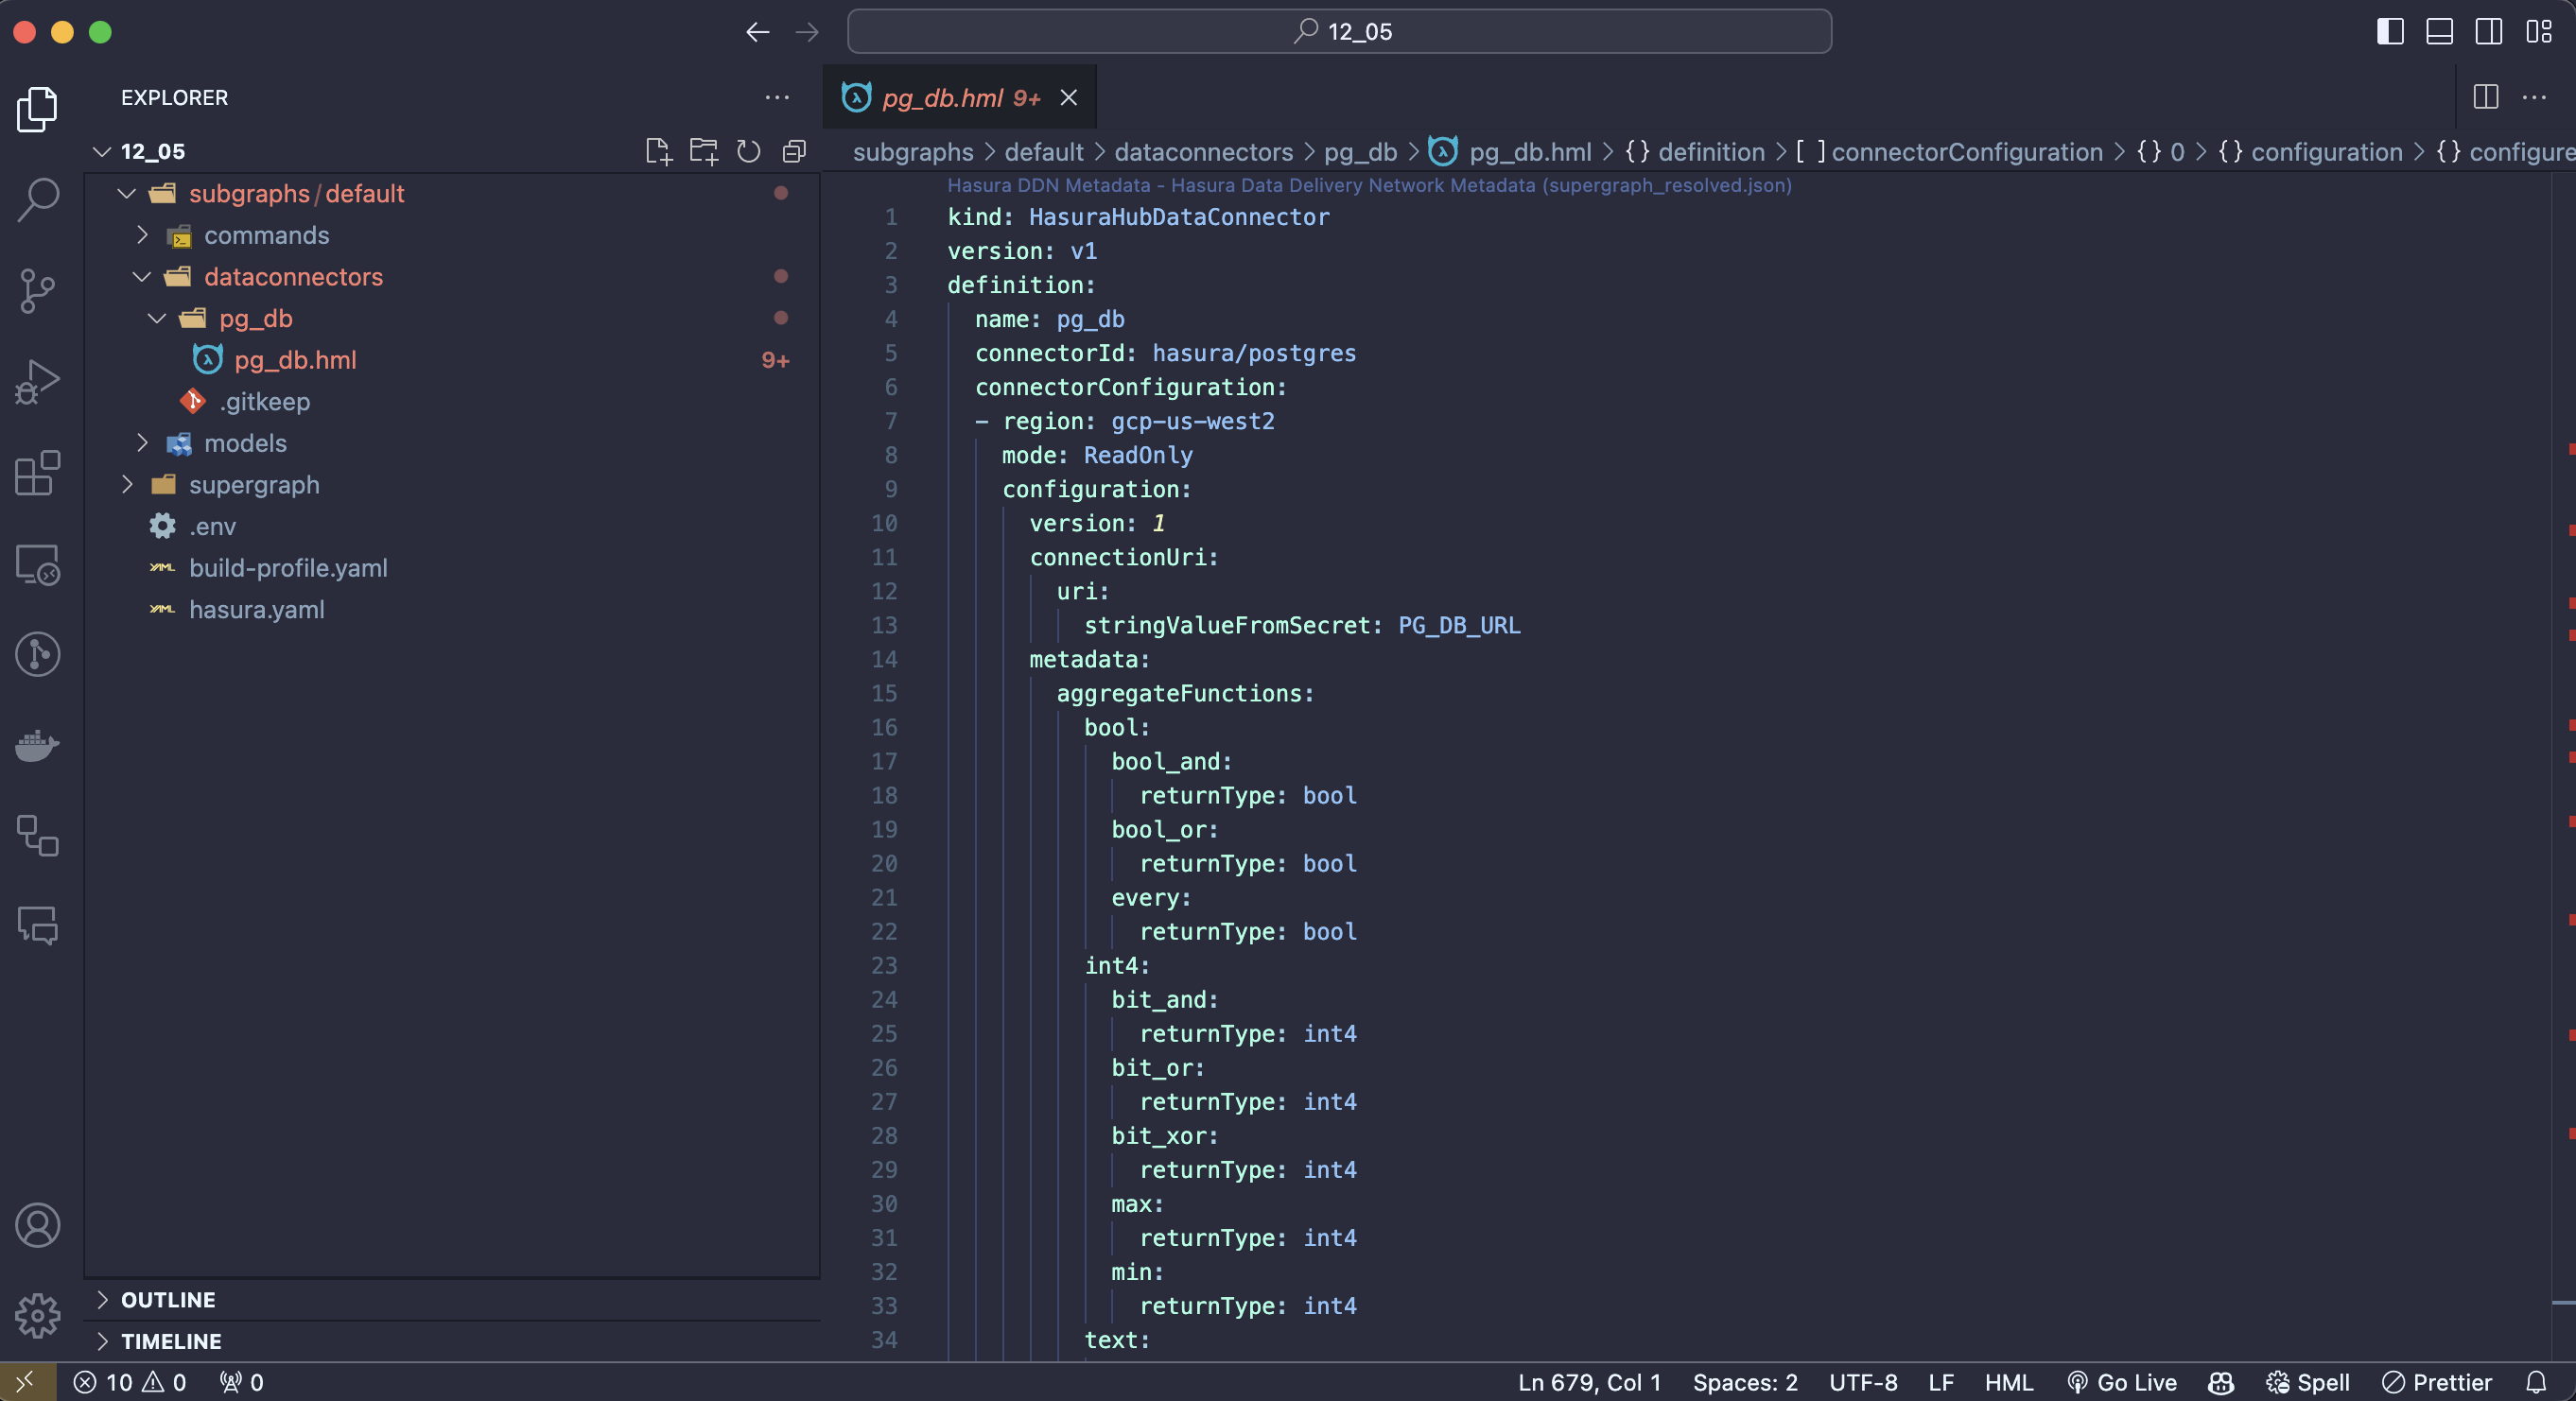
If you head to the pg_db.hml file in the dataconnectors directory, you'll see that the CLI has added information to
your metadata about the tables and views in your database 🎉
Next, we'll create hml files for each of our tables and add them to the models directory in the default subgraph.